Monday, May 16, 2011

Do It Yourself : Desert Cooler - 7

Click Rebuilding Desert Cooler  for all related posts

Last time we were trying to figure out how to supply water to those PVC conduit pipes we were to use for  supplying water to the sides.

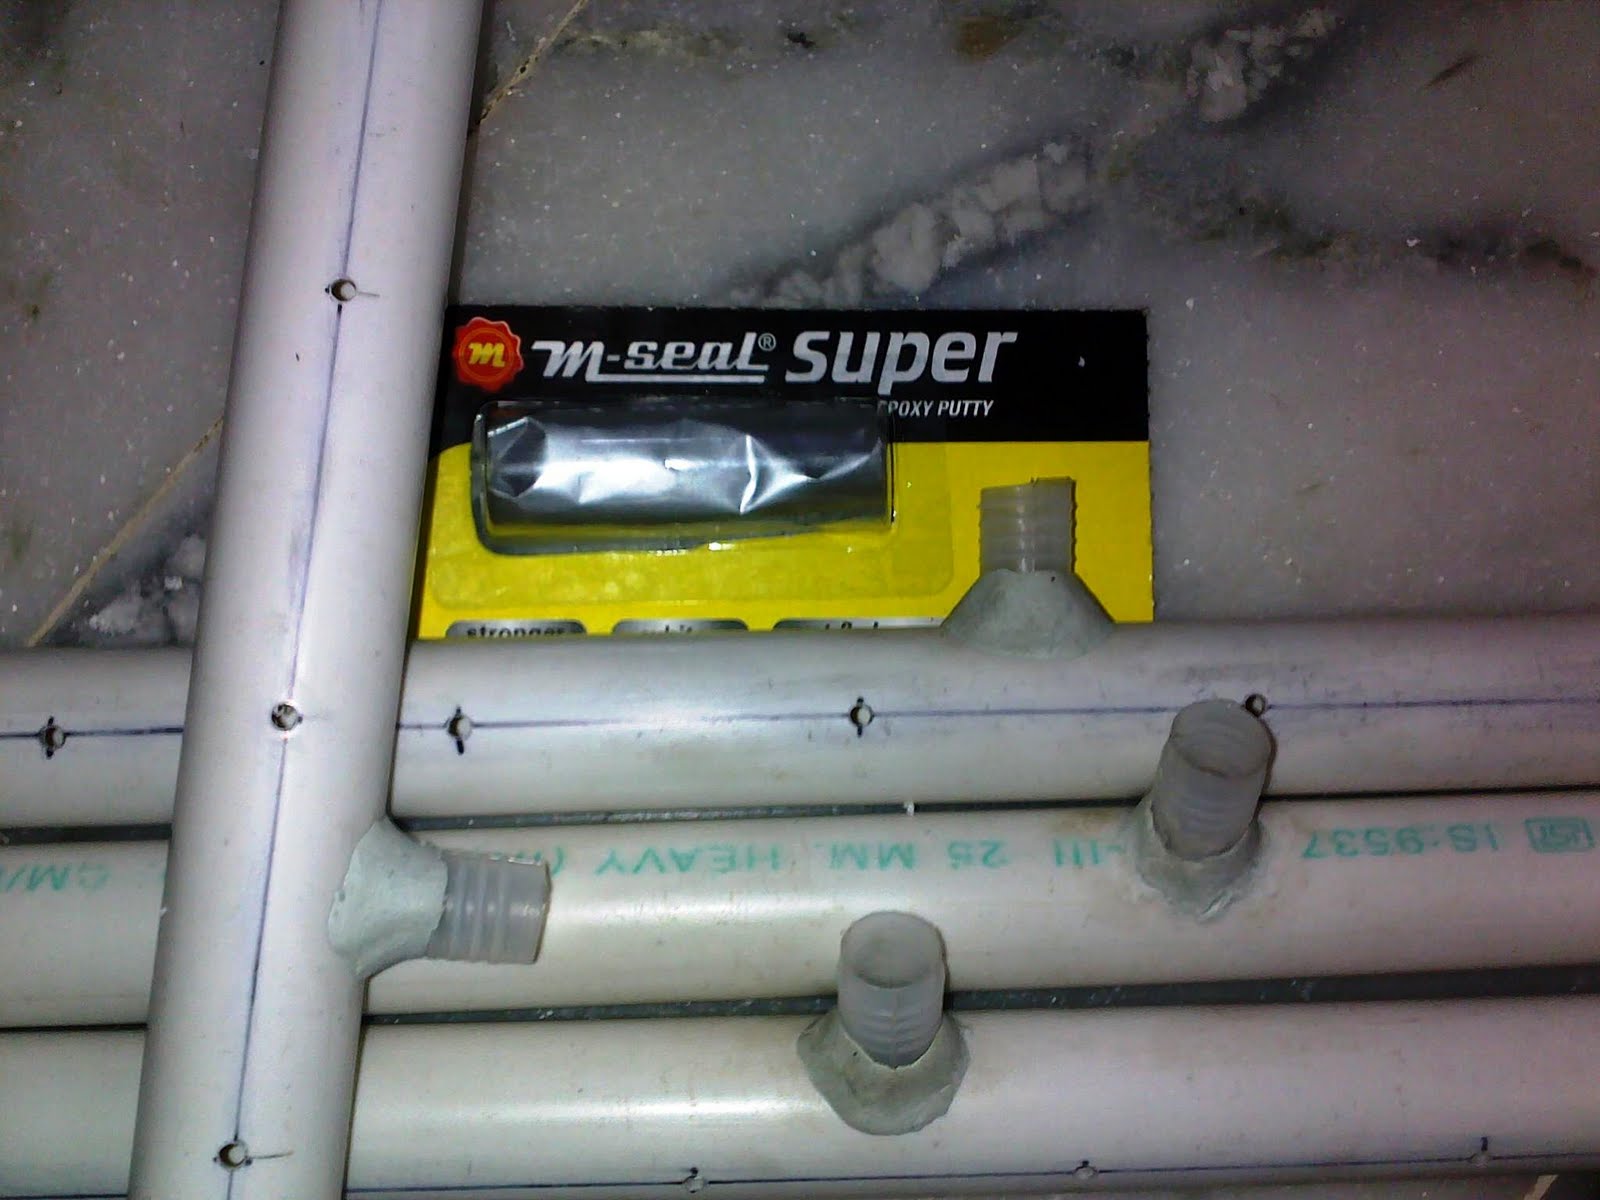
Naturally they were supposed to be holes. Big enough to let the hoses form the pump through. There was also a nice accessory available at the shops. A small plastic bend that is used in coolers. That worked to make a better connection for the hoses:

Made 12 mm holes in each side. That was the size of hoses that accompanied the pumps
This is the plumbing unit mentioned above. Cut it to obtain two sockets from each.
The holes were large enough to let these small plastic sockets through.


They were then fixed in place with some quick setting M-Seal:

Quick setting M-Seal sets in 15-20 min flat. Saving time.
By now, a set of 4 pipes was ready to go into their respective locations in the cooler.

All the needed pipes with all work done.
I wanted someway to place them so that they are maintainable. There is a chance that I will have to clean some sediment or open a clogged hole sometime or when setting it up for the next season next year. Also, it was not a good idea if anything had to be broken to get them out. So I used wire-ties to fix the pipes in respective places:

A 100 of these for Rs 15.00. Used around a dozen and rest are for future maintenance :-)

They fit really neat and no hassles of twisting wires, or screws etc
Some adjustments to make way for the hoses

Then came the hoses. Another distributor for second pump was added by making, yes, more holes :-). Each distributor had three outputs from one pump so I made two input holes in each of the longer side and one in the half side so that each longer side gets exactly two thirds of the pump's water and the half side get the remaining one third. So water for one and half side per pump will be distributed fairly on all sides.

Step 1: Make holes
Step 2: Fix

Step 3 : Attach hoses

So far we have the Shavings, Water supply system in the frame and it looks really nice with all that fixed. Nice to see all that work taking shape:

Only drip pipes attached

Supply hoses and drip pipes attached to two distributors

View from the underside. Water pumps will be at the viewer's plane. Fan towards the right.

Now we were left with one last challenge with the water supply. The clogging due to falling Shavings sue to continuous wet and dry cycles and also due to air flowing through them, there is a chance that some lose Shavings will fall into the water reservoir and end up in the water supply circuit.

A simple water filter was needed. Steel wire mesh seemed to be a good candidate for making the same. It is the same steel wire mesh as used in Indian homes for making the wire-mesh doors. Readily available. This item was also on my original shopping list.

A simple idea was to make the filter with as much surface area as possible to allow enough flow even when pretty clogged.A cuboid sort of design sounded good enough and a plan was made based on measurements, cuts and bends to be made. The dimensions were so chosen so that the pumps are at equal distance from the walls of the filter and from each other (approx3 inches):

The plan
Marked the mesh with a permanent marker. As the wire mesh is still new, all the markings were pretty visible to me at least. Camera cannot capture them as much. The wire mesh is pretty tough to deal with and making sharp bends was achieved by wedging wire between a wooden plank and floor and then lifting along the edge of the plank:

First few bends
More bending
I order to hold the filter in is shape, a wire was borrowed from the mesh itself to make ties:


Extract a wire from the mesh

Cut into small pieces

Bend into U shapes

Pass a tie through layers of mesh where they meet

Tie up tight

Done!
 Tying up at various places on need basis achieves a rigid and shapely cuboid for the filter

One corner bent and tied up

A complete room for the pumps to keep the Shavings out

Another view

 Warning: The wire mesh is quite edgy when cut and it is springy also when you try to bend it. I accidentally left the hold of it on once instance and it springed back and struck on my hand. Bruised me.

That was the only bloodshed during this project :-)
Shavings, water supply and water filter is there. Now for the electrical and wiring. Only one step behind cool breeze of home-made cooler :-)

Lets see that as well in a later post.

Good night for now!

Sunday, May 15, 2011

Do It Yourself : Desert Cooler - 6

Click Rebuilding Desert Cooler  for all related posts.

Content warning: Understanding all content of this post requires knowledge of theory of direct variation, volumetric calculations, and some thermodynamics. Reader discretion is advised ;-)

After the Shavings have been added to the cooler it was time to have water supply in place. Though a simple thing, I went a bit geeky on this just for sake of entertainment and some perfection in the system.

From past of this cooler it was known that standard pump is not enough to provide water to all the sides. It used to leave dry patches in the sides that allowed hot untreated air in. So an effective system was a requirement.

I went to the market and found that a new submersible pump was in use now instead of earlier centrifugal pump that had a shaft and impeller submerged in water with motor held above water level.

Wanted no risks so I decided to install two pumps! Sounds like overkill but with two goals in mind it seemed to be a good decision:
  1. Irrigate the Shavings well to have more air molecules interact with water and after some more thermodynamics, better cooling.
  2. No dry spots in the sides so that there is no untreated air entering the room.
The two water pumps had to be on separate water circulation circuits so that each one gets its own area to feed. Also, by separating the water circulation circuits, the pumps will not have to compete with themselves For example, a pump pushing water into the water pipe that is being fed by another pump at some other point in the circuit will decrease the efficiency of both..

So two circuits, because the pumps are similar, the area to feed had to be same size. A cooler has three sides. That means one and a half side per pump.

That decided, next was the design of a water drip system that will let the water onto the sides stuffed with Shavings.

The traditional coolers have a V shaped metal strip attached to each side of the cooler and hoses emanating from a distribution joint drop into these metal strips. That arrangement seemed too ad-hoc. Mainly because they are untidy and rickety. Rejected!

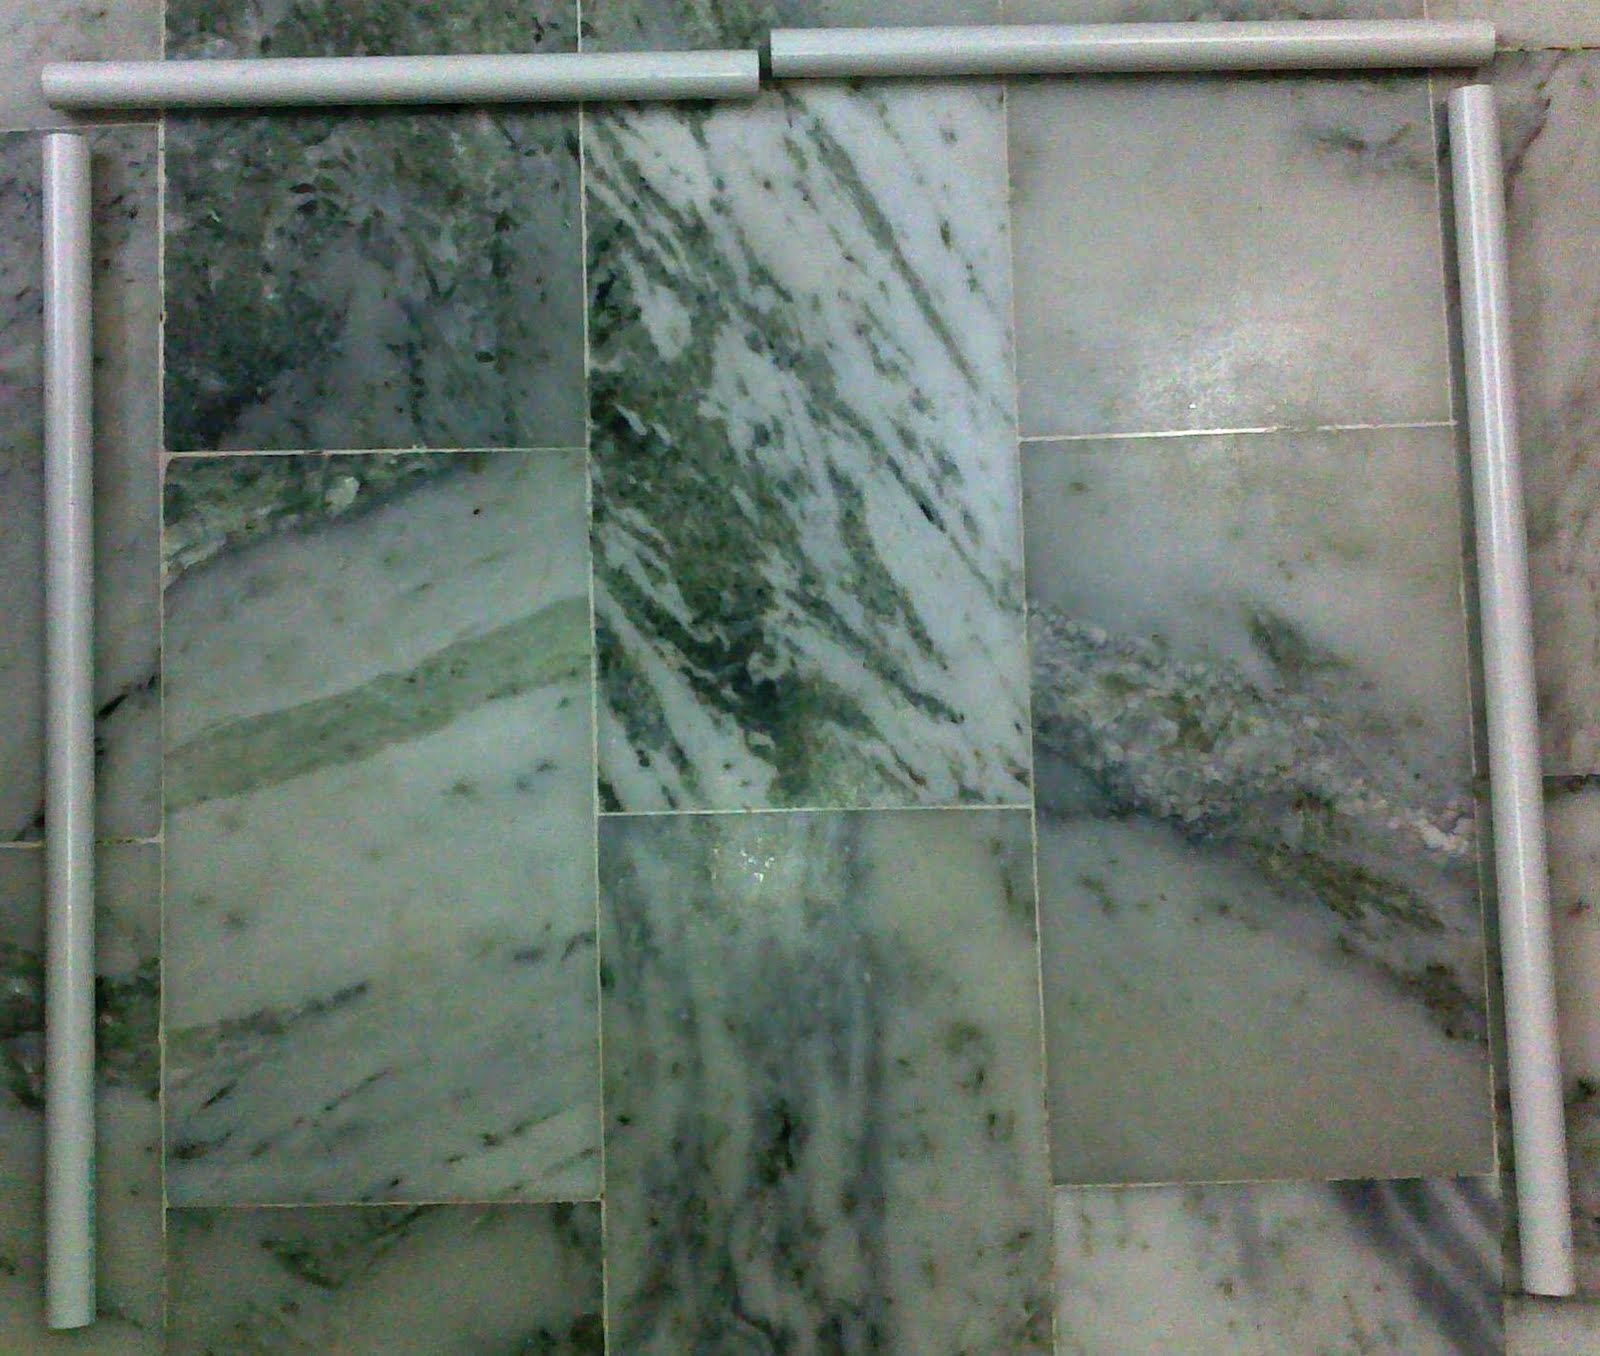
I decided to use PVC conduit pipes for the same and cut them according to the need of three sides:
!
One and a half side for each pump

Because each water pump will irrigate only one and a half sides, the top pipe here was cut into half. The cooler fan will be on the open side (here facing downwards).

I thought that making holes in these pipes will be enough. But then I head someone say "Houston, we have a problem!". I reckoned that there could be at least three problems with making holes:
  1. If I make too many holes, water will never reach the holes on far side of the pipes. The holes closest to pump inlet will drain all the water and Shavings will go dry at the end, violating goal 2 (no dry spots).
  2. Too few holes will make the pipes flood with water and reduce the efficiency of the irrigation system because while the pumps are pushing more water, the holes just cant get it to the Shavings. (goal 1: enough water)
  3. Third problem was that the holes might get clogged due to dust and falling of wood-shavings over time and being sucked into the pumps. Has been happening with this cooler in its original design.
Lets address this problem by problem.

1. and 2: Holes should be just enough so that the supply-drain equilibrium is met as closely as possible.

For calculating this I set up the pump with a temporary hose to supply water at similar height as it would have to when installed finally. Approx 3'6".

Then used a stop-watch to measure the time needed to pump a fixed quantity of water to that height. Used a measuring cup that came with microwave over for this. In this case it was 250 CC in 3.5 to 4 seconds. Time averaged to 3.8 seconds and 65.8 CC per second per pump of supply was the magic number.

Now I needed to know how much water can be drained out of a 3mm hole in that PVC pipe when water is being supplied almost at the same level as the pipe. 3 mm was chosen because that seems to be a reasonable size and will not clog very often.

So I sealed a test-pipe at both ends, made a hole in the top and on the bottom side made three 3 mm holes. Poured water from the top and used the same measuring device and stopwatch to find the time that 3 holes take to drain same amount of water. It came out to be around 23 seconds, that is 10.9 CC per second and 3.62 CC per hole per second of natural, unforced flow.

[Don't complain about the numbers. You were warned in the beginning of this post ;-). BTW it is just high school mathematics!]

Thus by dividing supply per pump (65.8 CC per second) with the drain per hole (3.62 CC per second) I got the total number of holes that will be needed (per pump) to balance supply-drain equation. That comes out to be 18.15. I decided to make that 20 to compensate for some clogging due to deposits or dirt etc.

Also 20 holes are easier to make than 18.15 holes...he he

That was the total number of holes. But I have a length to distribute it upon (one and a half side of cooler). The sides are not continuous. I have one full side and one half side. So I cannot just get the separation between consecutive holes by dividing full length with 20 (and compensating for Fencepost error). So I calculated the number of holes to be made in each full and half side based on the ratio of total length (one side + half side) to the ratio of each side's length.


In the image below (click to enlarge), 94 cm is the total length (one full side of 58.5 cm + one half  side of 35.5 cm). 7.5 and 12.4 are the number of holes distributed on the basis of proportion of each side to the total length.

The holes had to be integers. Else how do you make 12.4 holes or 7.5 holes measuring 3 mm each?

Rounded up the above number of holes to obtain two set of possible combinations as follows:
  1. Longer side 13 holes and shorter side 7 holes for a total of 20
  2. Longer side 12 holes and shorter side 8 holes for a total of 20 again
Calculations. I never thought I will be presenting them here so did on a rough page only.

The combination that will place holes more equidistant will distribute water more evenly on the sides. By dividing each length to the number of holes to be made in it, I get the gap at which the holes should be made.

8 and 12 hole combination gave me best distribution of gap (5 cm on longer side and and 5.3 cm on half side) while 7 and 13 holes suggested that I make holes closer together on the longer side at 4.8 cm and farther away on the half side at 5.9 cm. Evidently the latter being not a very good distribution.

Rest of the things were straight forward. Make the markings and pick up the drill with a 3 mm bit. So here we go:
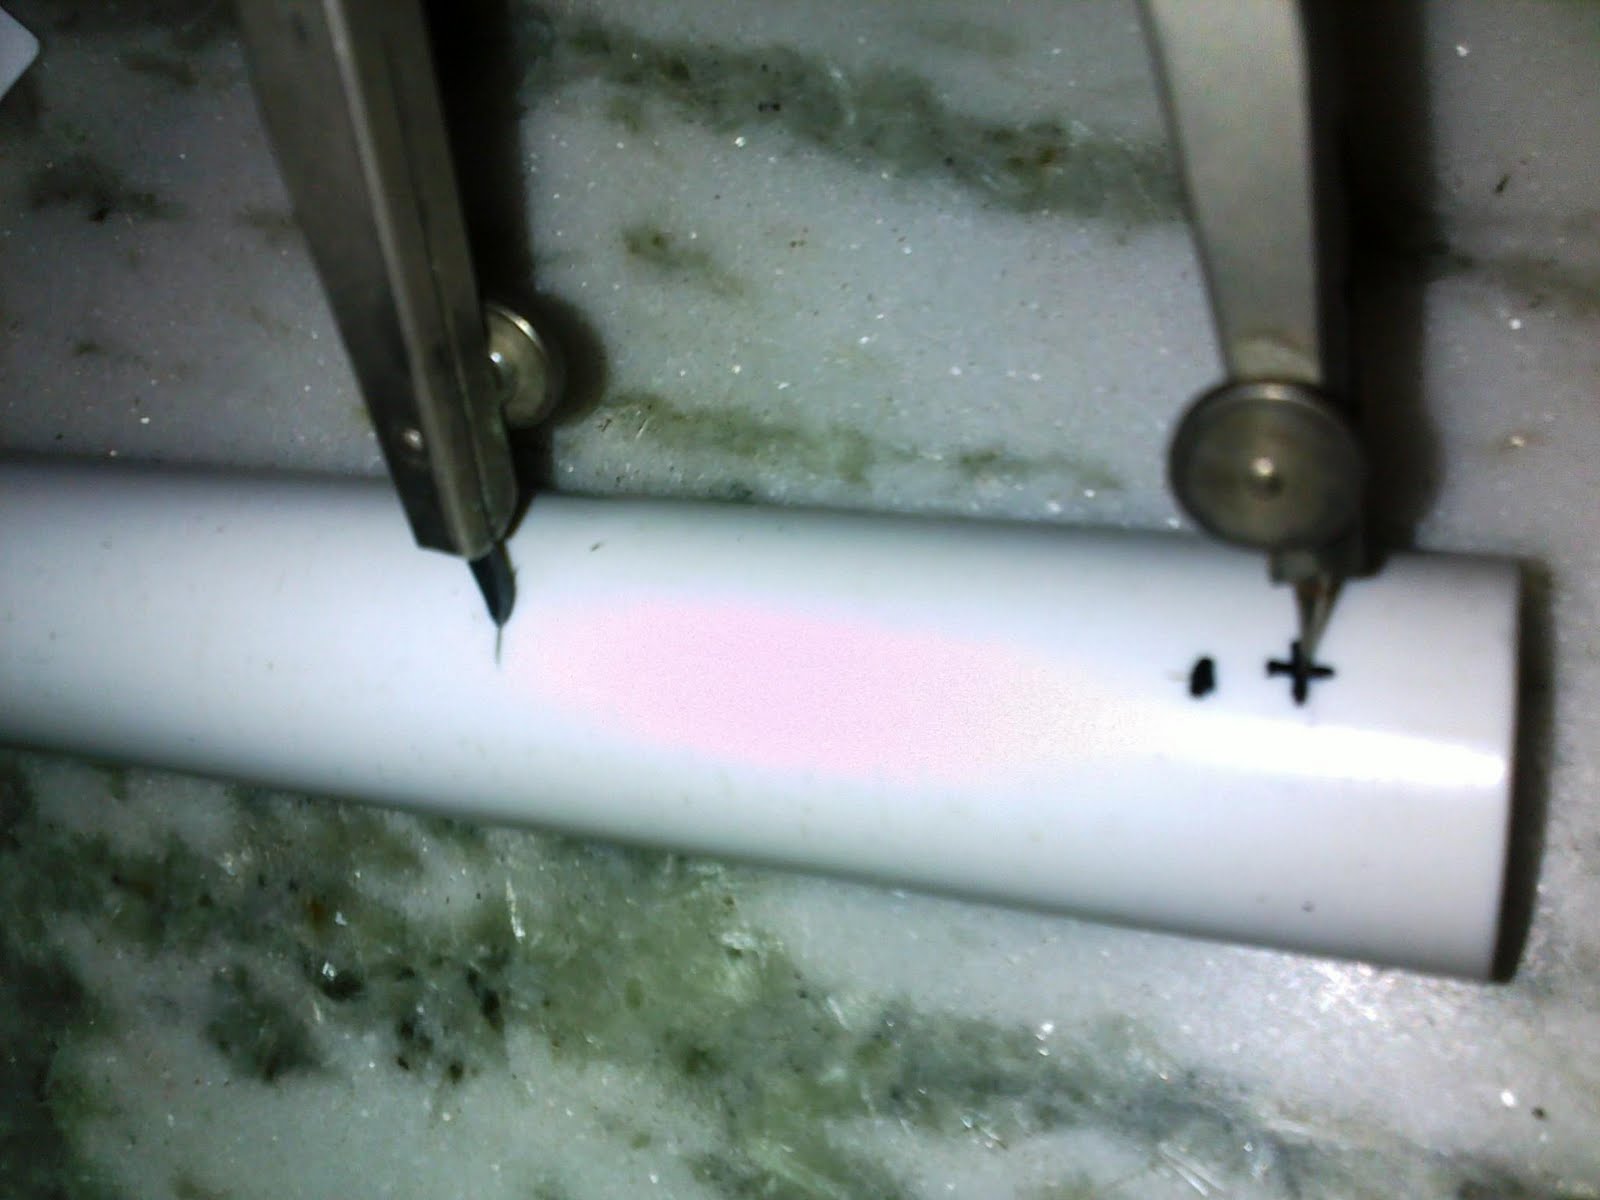
Standard compass to measure the gap

Start little offset from the side. Water will flow on either side of holes.

Mark the gaps. Compass helps maintain distance. Guide line helps in alignment.

At your mark(s)

 Then comes drilling. 20 holes per one and a half side. Total 40 holes for all sides!

3 mm drill, vice and concentration

All done

But then  came another question. How to cover the edge of the pipes? Water will just fall out on the edges without going through the holes. Also I did not want to seal the sides permanently because there is a fair enough chance that someday they will require cleaning.

What goes here?

I came across an idea and started collecting material for it. A piece of rubber bought from a roadside cobbler for 30 and a curtain holder.

Follow the captions below to see how it was done.

Bought this piece of rubber mat from a cobbler

This curtain rod holder was just right thing for the job

Filed the edges using a round edge file to make a cutting edge
 
wedged the curtain rod holder and the rubber sheet between two pieces of wood in a vice
 
Tighten and tighten and you have your own mini cutting press!

Perfectly round and just over-sized rings to fit snugly

That's it! Now I needed more of them for all open edges


Another challenge overcome :-)
 These round plugs are easy to remove and easy to install. I tested them and they do not allow water to escape from the edges.

Now I have pipes with just enough holes to let the water through at the same rate as pumps will pump it into them.

But where will water enter these pipes? More holes!

That, very soon but in another post!
Take care

Saturday, May 14, 2011

Do It Yourself : Desert Cooler - 5

Click Rebuilding Desert Cooler  for all related posts.

Paint work has cured now and the final pieces are fairly ready to receive the assemblies. Although floor got some stains. I learned from a hardware store owner that these stains can be gotten rid of with some thinner. So that is another post fabrication task on the list.
 Painted and set to receive assemblies
So it was the time for next step. Putting the wood-shavings-wool into the sides.

Now it was quite a hunt to find the wood-shavings-wool...wait a second! Let us give a better name to this 'wood-shavings-wool'. How about just Shavings? Okay then, Shavings it is.

It was quite a hunt to look for Shavings because the roadside vendors are only interested in fitting a small cooler with Shavings and earn seasonal profit. I needed some 3-4 Kgs of it for the cooler and selling that much in bulk by a roadside vendor would be a loss to him because he can manage like 3 small home coolers with that much.

After being unable to convince any of the roadside vendors for a bargain. I assigned the task to my younger brother who arranged the same while I was away at the office from a wholesale market. So I had work to do in the weekend.

Fitting that unruly mass of intertwined wooden laces into those seemed to be a difficult task but I had planned something for it during my earlier brainstorming.

3 Kg of Shavings tied up

The green stuff is what I was talking about. It is mostly used as garden fencing.
I had measured the dimensions before purchasing and that saved me a lot of wastage. First step was to cut an edge to make it straight. That was easy with the new cutter I purchased.
7, 8 Cut 'em straight.
Once you have a straight edge, it is easy to proceed with the measurements and further cuts.

The plan. Just three perfect sized rectangles are needed
The cutter helped a lot and cut like butter through this plastic. Every other option (scissors, knife, handcraft knife, wire cutter, pliers etc) seem to be more inconvenient than this tool.

Lesson: Invest in a nice tool for excellent results

I am more than happy to have purchased this tool. It just caught my eye at one of the shops where I bought sanding wheel for Grinder

The plan.
and here is the result. Three meshes for three sides.


Then came laying of the Shavings in cooler's side grills. This takes more of an artistic touch of your hand rather than just follow a recipe. The Shavings vary in density, toughness and are very unruly when dry. To make it more manageable I soaked it as I spread it on the grill.

Soak well before use
Then spread it on the steel frame and untangled with my fingers and rearranged it using movements of fingers as if I was fluffing up a pillow before sleeping.

2 min into the it
The aim was to obtain a consistent depth that will be around half an inch when I put slight pressure on it. So loose Shavings if 2-3 inch of thickness will be down to approx 1 inch when we tie them up with that green plastic mesh.

Around 5 minutes

10 minutes and done

Next came the process of tying up the Shavings by sandwiching them between the Cooler's frame and the green Mesh. That was done using simple iron wire that is available at all hardware stores. This wire is commonly used to tie up reinforcements in concrete construction and is order-able by Kilos. 250 gm was enough for me.

I cut this wire into pieces and made approx 3 inch long 'V's from it:

Tying the Shavings
Because shavings are wet as I work on them, they will settle in shape of a nice even pad when they go dry.

Sometimes breeze blew through wet Shavings while I was working on it. It cooled it down, gifting me with small cool blows in hot Sunday balcony as a reward for hard work and as a glimpse of what is about to come when all will be put together. :-)

Use standard pliers to twist the wire. Can be done by hand as well. I tied it at multiple places around 5-7 inches apart.

These custom ties are inserted from outer side and twisted at the inside for safety


More tightening and shortening


And the result:

Outer side of the grill
Inside of the grill with Shavings sandwiched between.

 
Does that qualify as photographic art? :-)
So that is a partially ready cooler with Shavings added to all three sides. The whole procedure took something like 2-3 hours and is far better than what we get in the market. More Shavings, better management and uniformly spread.


Next post will cover the water supply. I went a bit geeky on this one but it was fun as well. Stay tuned and please provide feedback.

Good night!