Last time we were trying to figure out how to supply water to those PVC conduit pipes we were to use for supplying water to the sides.
Naturally they were supposed to be holes. Big enough to let the hoses form the pump through. There was also a nice accessory available at the shops. A small plastic bend that is used in coolers. That worked to make a better connection for the hoses:
 |
| Made 12 mm holes in each side. That was the size of hoses that accompanied the pumps |
 |
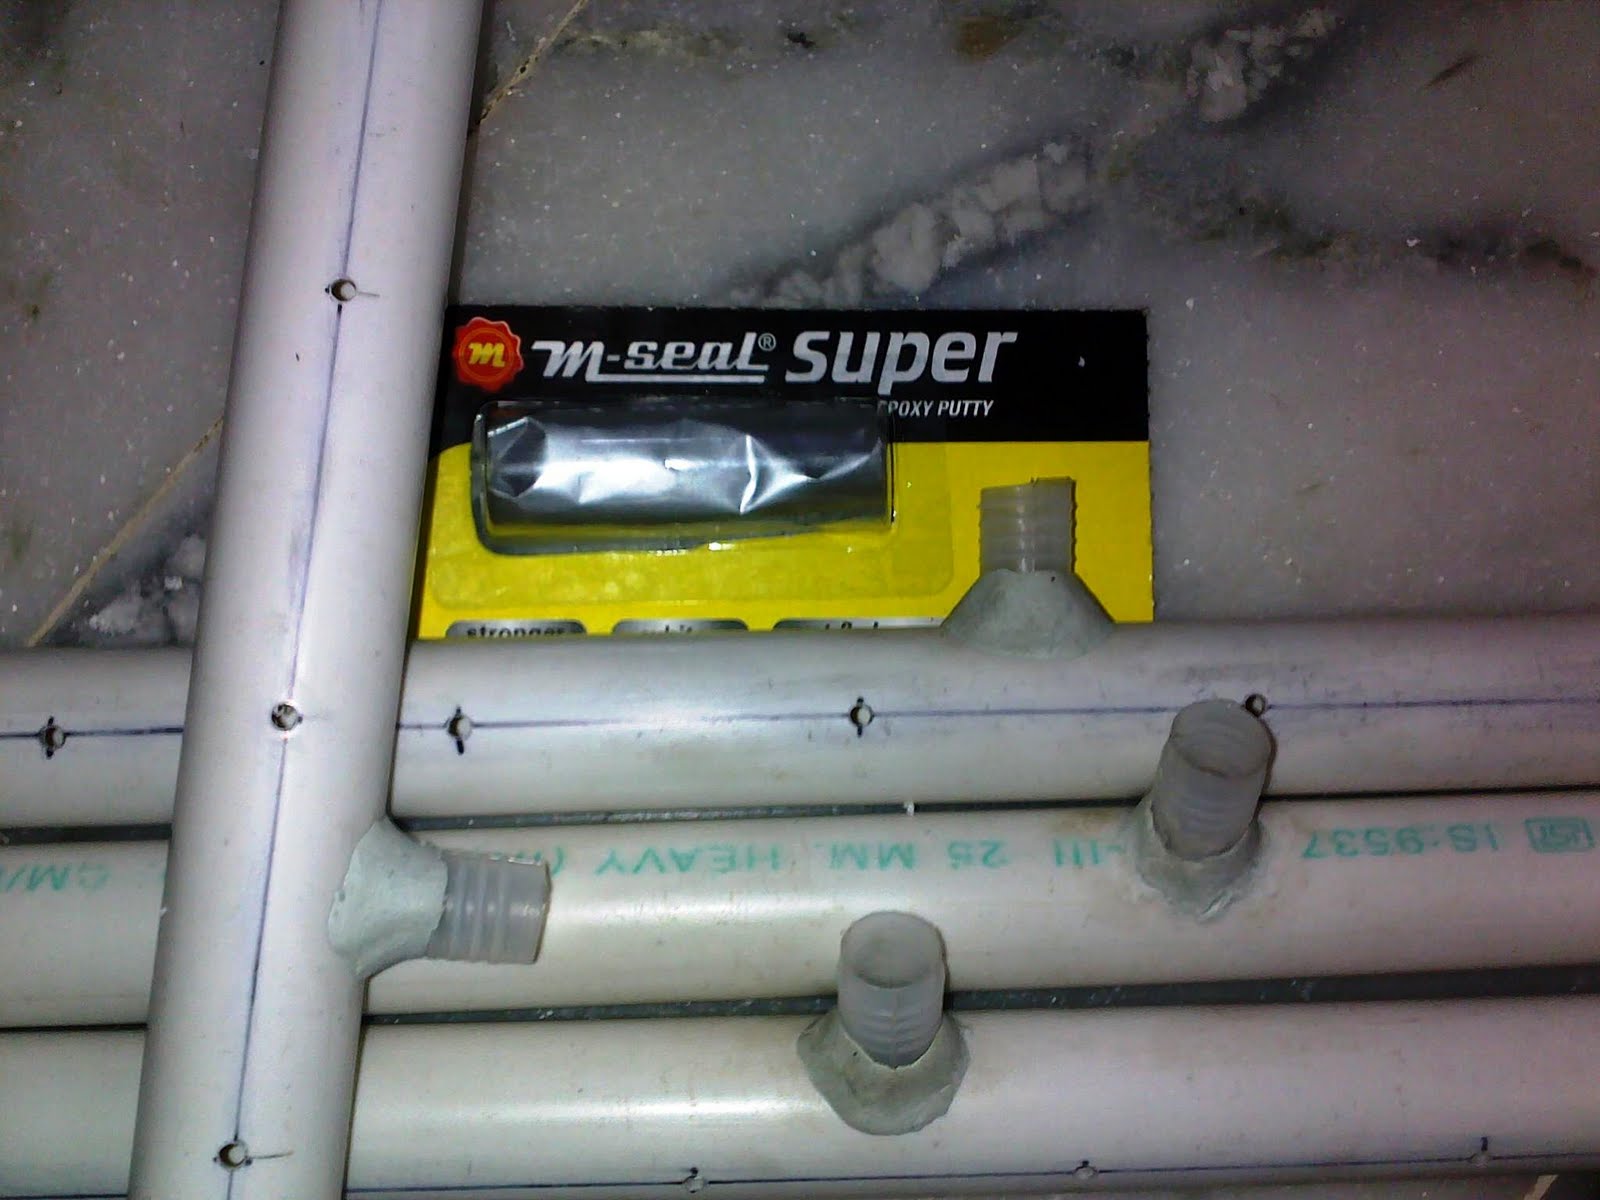
| This is the plumbing unit mentioned above. Cut it to obtain two sockets from each. |
The holes were large enough to let these small plastic sockets through.
They were then fixed in place with some quick setting M-Seal:
 |
| Quick setting M-Seal sets in 15-20 min flat. Saving time. |
By now, a set of 4 pipes was ready to go into their respective locations in the cooler.
 |
| All the needed pipes with all work done. |
I wanted someway to place them so that they are maintainable. There is a chance that I will have to clean some sediment or open a clogged hole sometime or when setting it up for the next season next year. Also, it was not a good idea if anything had to be broken to get them out. So I used wire-ties to fix the pipes in respective places:
 |
| A 100 of these for Rs 15.00. Used around a dozen and rest are for future maintenance :-) |
 |
| They fit really neat and no hassles of twisting wires, or screws etc |
 |
| Some adjustments to make way for the hoses |
Then came the hoses. Another distributor for second pump was added by making, yes, more holes :-). Each distributor had three outputs from one pump so I made two input holes in each of the longer side and one in the half side so that each longer side gets exactly two thirds of the pump's water and the half side get the remaining one third. So water for one and half side per pump will be distributed fairly on all sides.
 |
| Step 1: Make holes |
 |
| Step 2: Fix |
 |
| Step 3 : Attach hoses |
So far we have the Shavings, Water supply system in the frame and it looks really nice with all that fixed. Nice to see all that work taking shape:
 |
| Only drip pipes attached |
 |
| Supply hoses and drip pipes attached to two distributors |
 |
| View from the underside. Water pumps will be at the viewer's plane. Fan towards the right. |
Now we were left with one last challenge with the water supply. The clogging due to falling Shavings sue to continuous wet and dry cycles and also due to air flowing through them, there is a chance that some lose Shavings will fall into the water reservoir and end up in the water supply circuit.
A simple water filter was needed. Steel wire mesh seemed to be a good candidate for making the same. It is the same steel wire mesh as used in Indian homes for making the wire-mesh doors. Readily available. This item was also on my original shopping list.
A simple idea was to make the filter with as much surface area as possible to allow enough flow even when pretty clogged.A cuboid sort of design sounded good enough and a plan was made based on measurements, cuts and bends to be made. The dimensions were so chosen so that the pumps are at equal distance from the walls of the filter and from each other (approx3 inches):
 |
| The plan |
Marked the mesh with a permanent marker. As the wire mesh is still new, all the markings were pretty visible to me at least. Camera cannot capture them as much. The wire mesh is pretty tough to deal with and making sharp bends was achieved by wedging wire between a wooden plank and floor and then lifting along the edge of the plank:
 |
| First few bends |
 |
| More bending |
I order to hold the filter in is shape, a wire was borrowed from the mesh itself to make ties:
 |
| Extract a wire from the mesh |
 |
| Cut into small pieces |
 |
| Bend into U shapes |
 |
| Pass a tie through layers of mesh where they meet |
 |
| Tie up tight |
 |
| Done! |
Tying up at various places on need basis achieves a rigid and shapely cuboid for the filter
 |
| One corner bent and tied up |
 |
| A complete room for the pumps to keep the Shavings out |
 |
| Another view |
Warning: The wire mesh is quite edgy when cut and it is springy also when you try to bend it. I accidentally left the hold of it on once instance and it springed back and struck on my hand. Bruised me.
 |
| That was the only bloodshed during this project :-) |
Shavings, water supply and water filter is there. Now for the electrical and wiring. Only one step behind cool breeze of home-made cooler :-)
Lets see that as well in a later post.
Good night for now!